
Early Designs
There was, at one point, a Mk1 of the Remote Bomb. There are also good reasons why there aren't any pictures of it.
Creating a perfectly smooth spherical object, that is 3D printable, is what is technically referred to in the business as a problem. There were also some design issues with making the decorative rings actually fit flush onto a curved surface. It took some trial and error to find a workflow that worked.
So after some trial and error, I moved on to the Mk2 (shown below). It looked good, it fitted together sturdily, and it lit up nice and bright. All things considered, it was a good result (and many happy customers would agree).
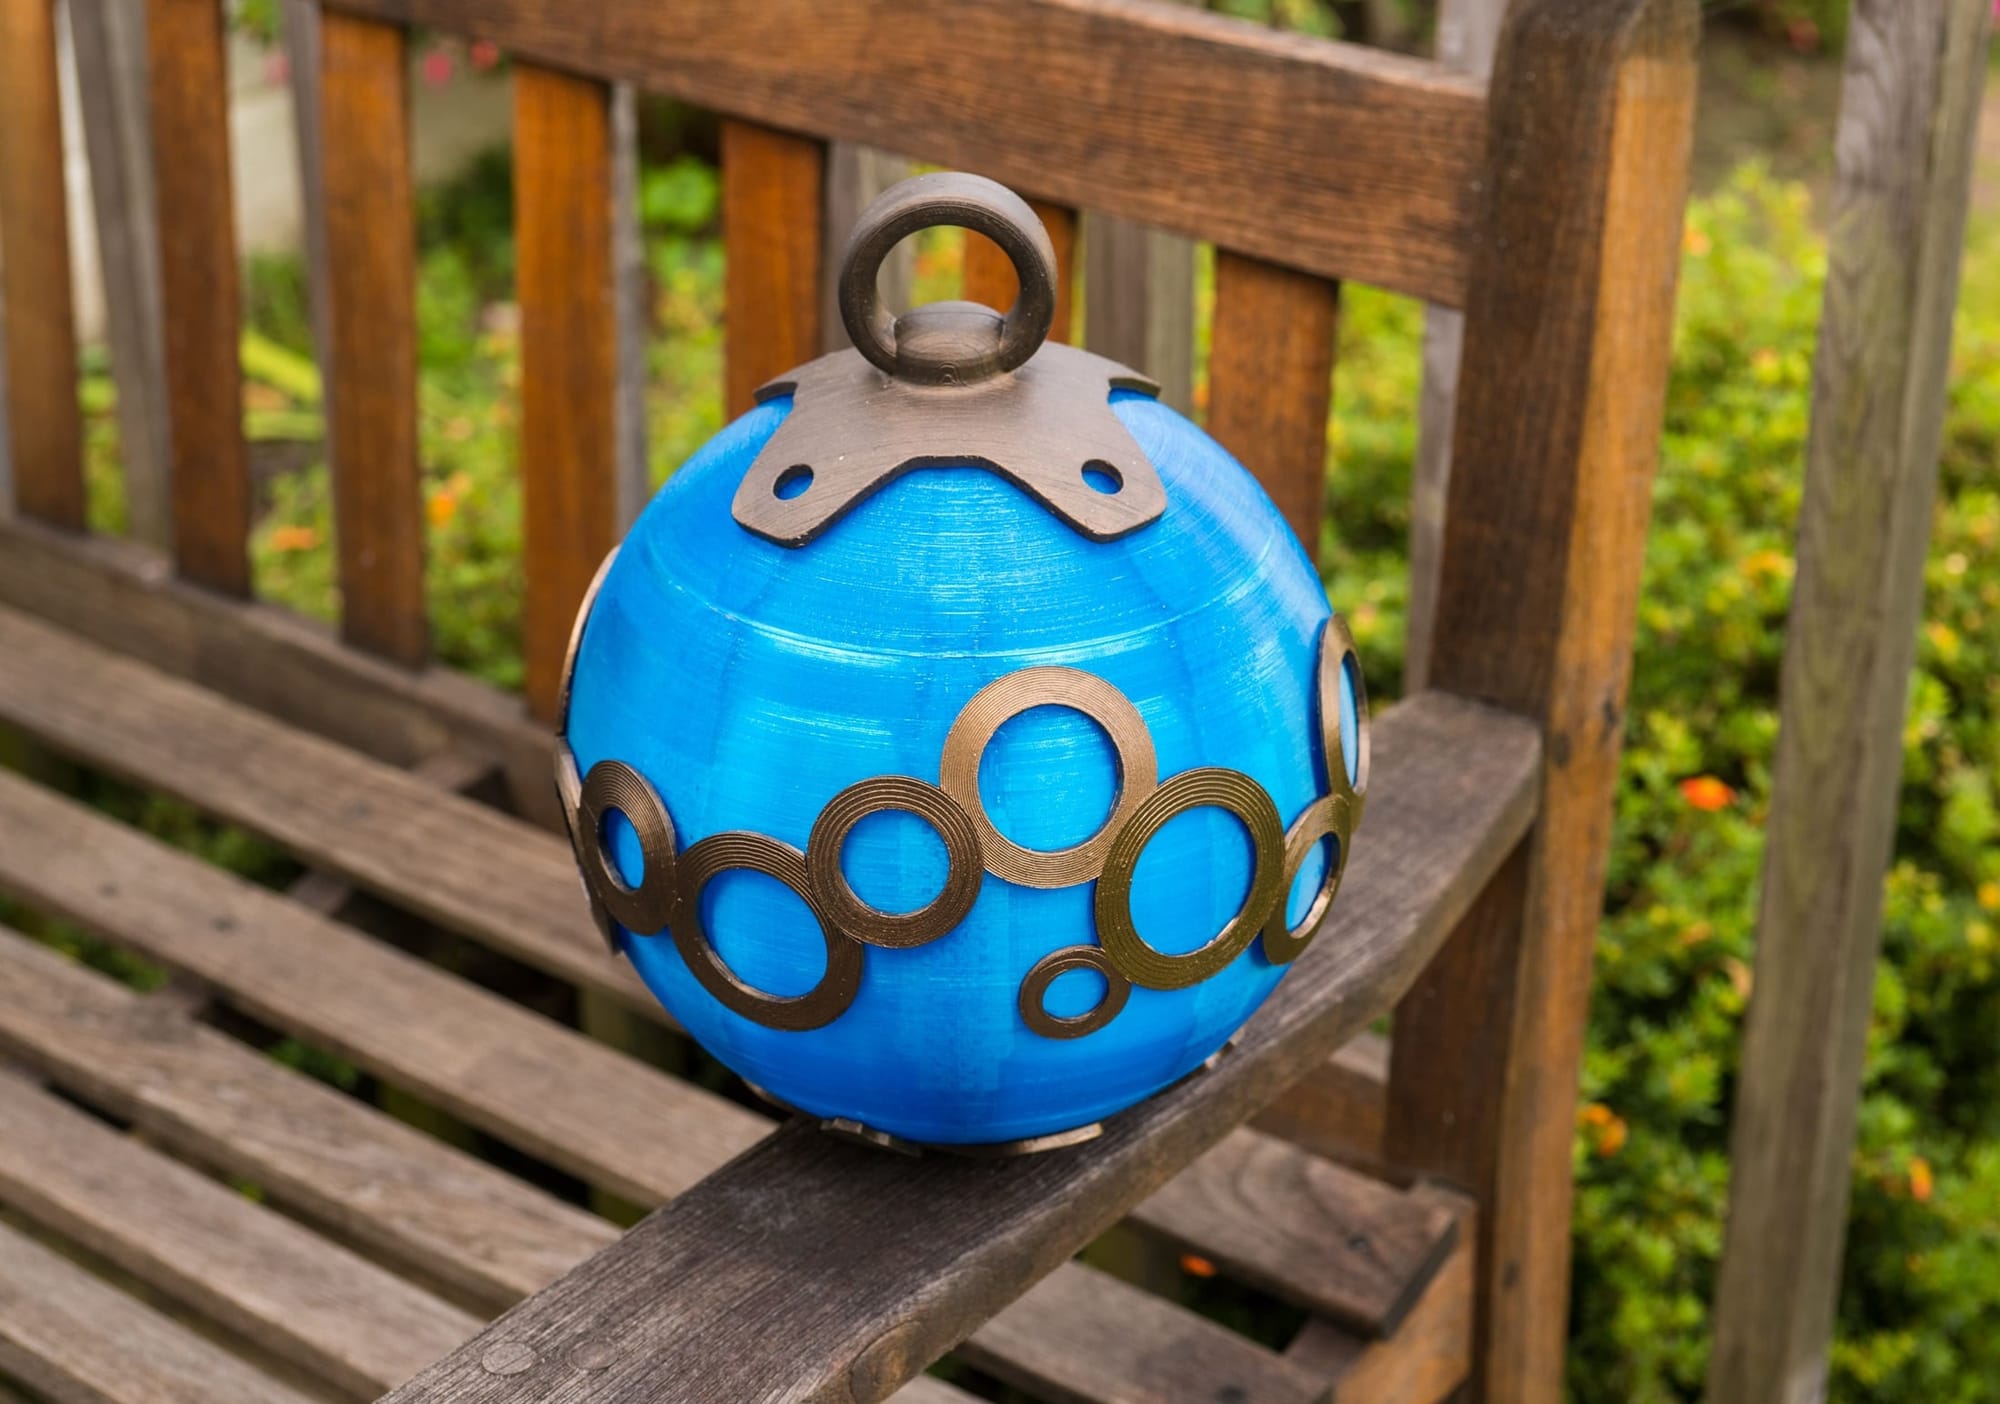
The Mk2 version of the Remote Bomb
Design Improvements
However, I was never truly happy with it. In order to overcome the 'printing a sphere' problem, it was split into three sections, but this meant that there were some visible seams in the main body. The internal structure was also tricky to assemble, and not particularly sturdy (I’ve never had one break, but it wasn’t as over-engineered as I would usually create something). I also felt some of the details could be improved.
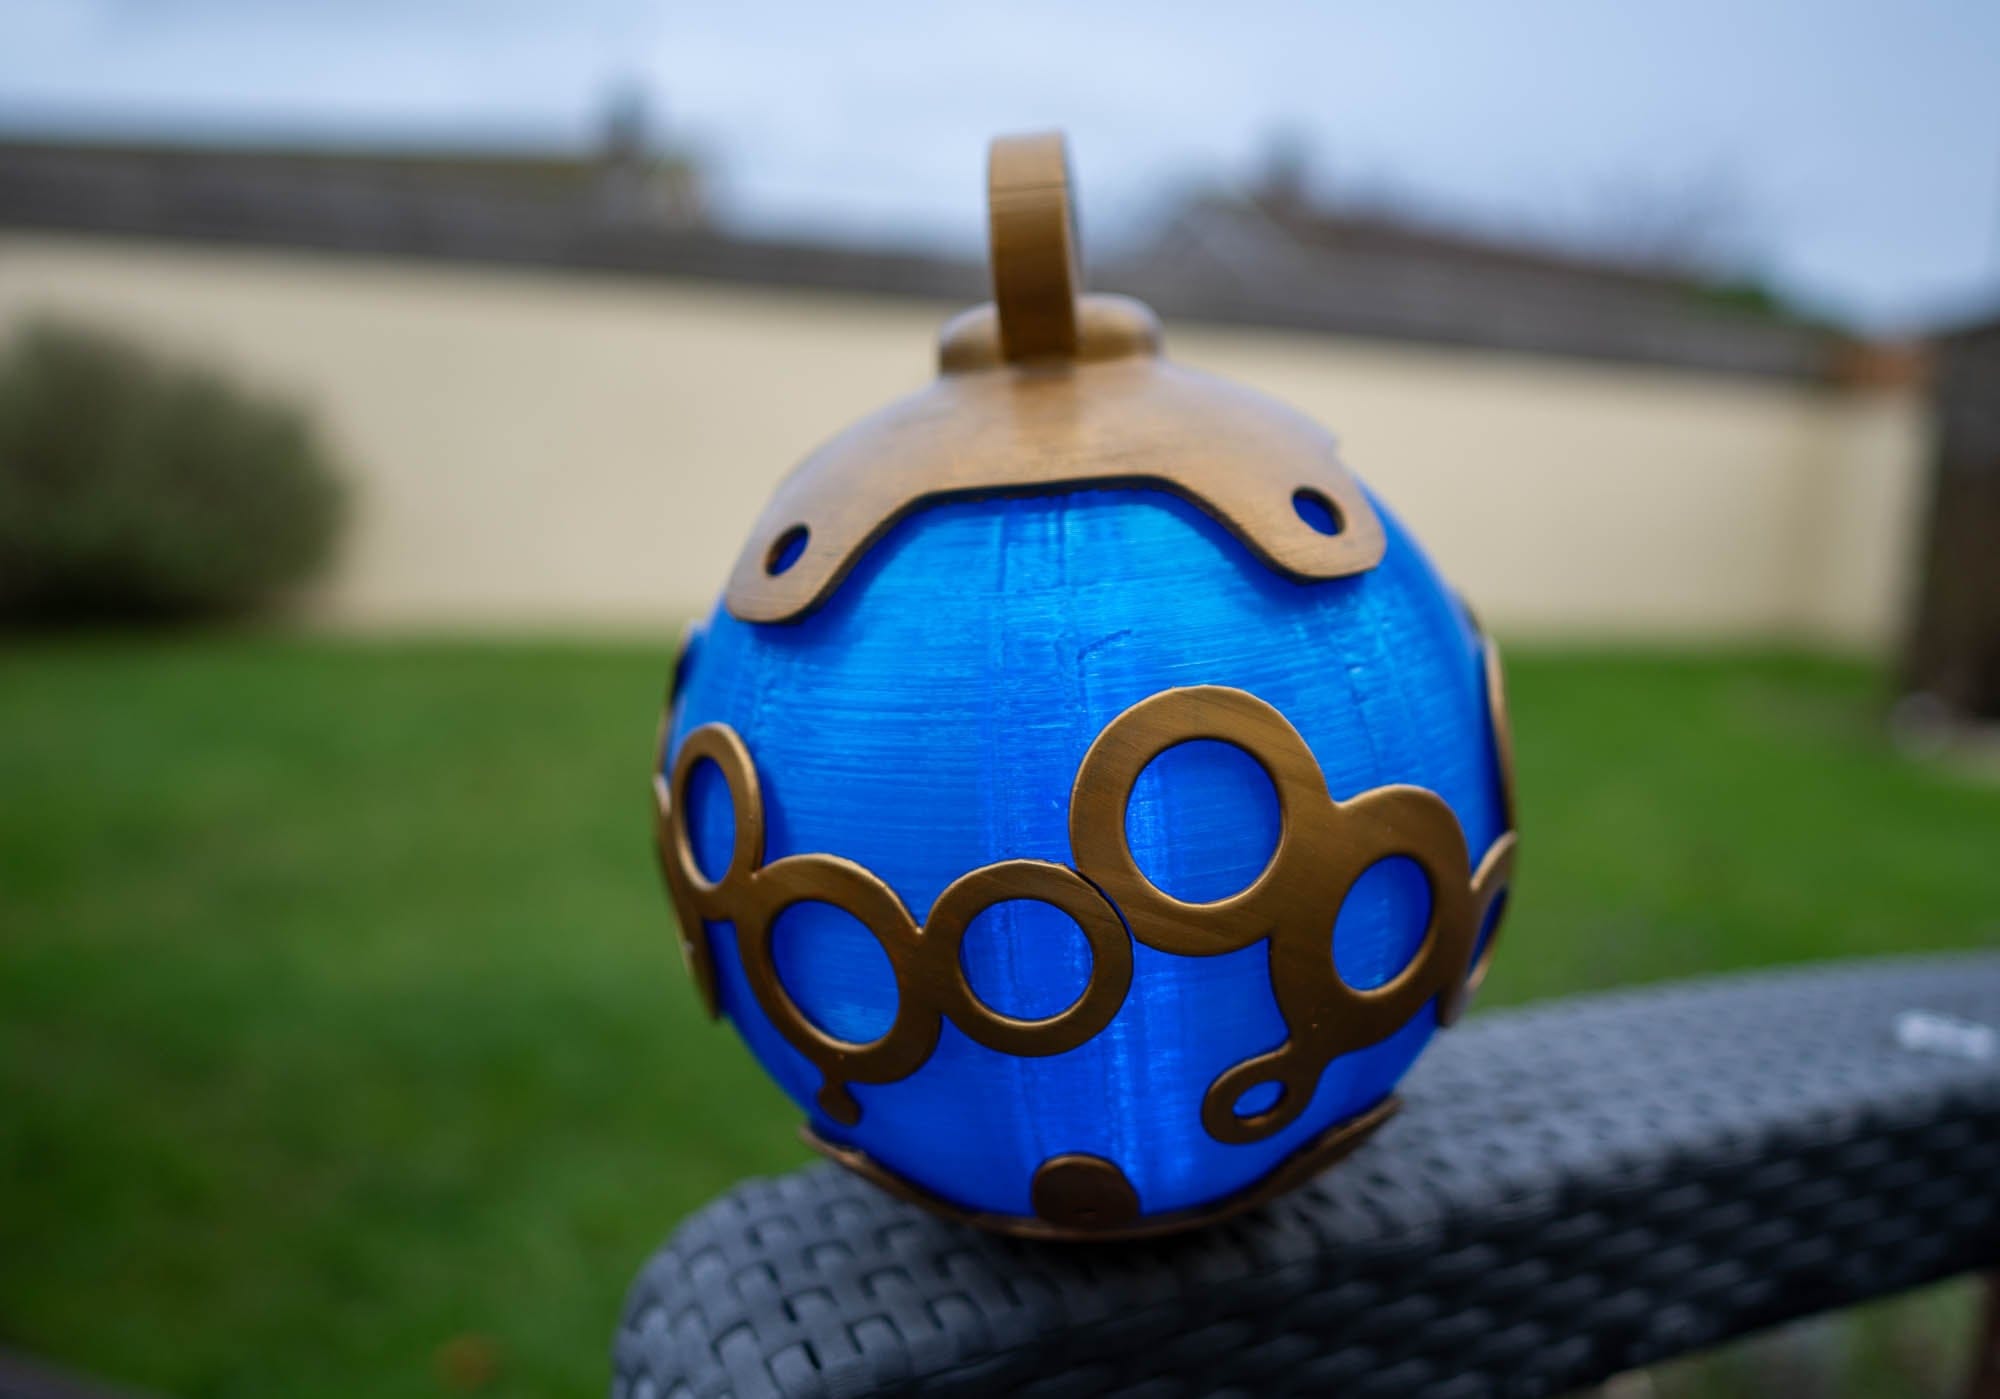
And so I began work on the Mk3, and then the Mk4, with the current design render shown in the title image of this page. Better detailing for the midline circle art, stronger top and bottom cap pieces, and an internal structure that is... pointlessly strong, but why not.

And even better - no visible seams, while still being printable on an FDM printer. Result.
Creation - 3D Printing
The first version of this project was... mostly bits and pieces that didn’t actually fit together, or at least didn’t fit together well enough to meet my requirements for a “quality finished product.” However, it did help me to iron out a large number of production and workflow issues I had back in the early days, so as an experience it was more than worthwhile.
The main central body, the base, and the handle-cap are all FDM printed using plant-based thermoplastics. These all went through several design changes to make them printable, as all the shapes are somewhat awkward for FDM printing. The current design allows for the objects to be printed with smooth external perimeters, and a minimum number of internal supports (a worthwhile goal, as supports are essentially wasted plastic).
The circular external decorations are all created using UV-reactive resin, as that is the only way to create them to the level of quality and smoothness that I required.#
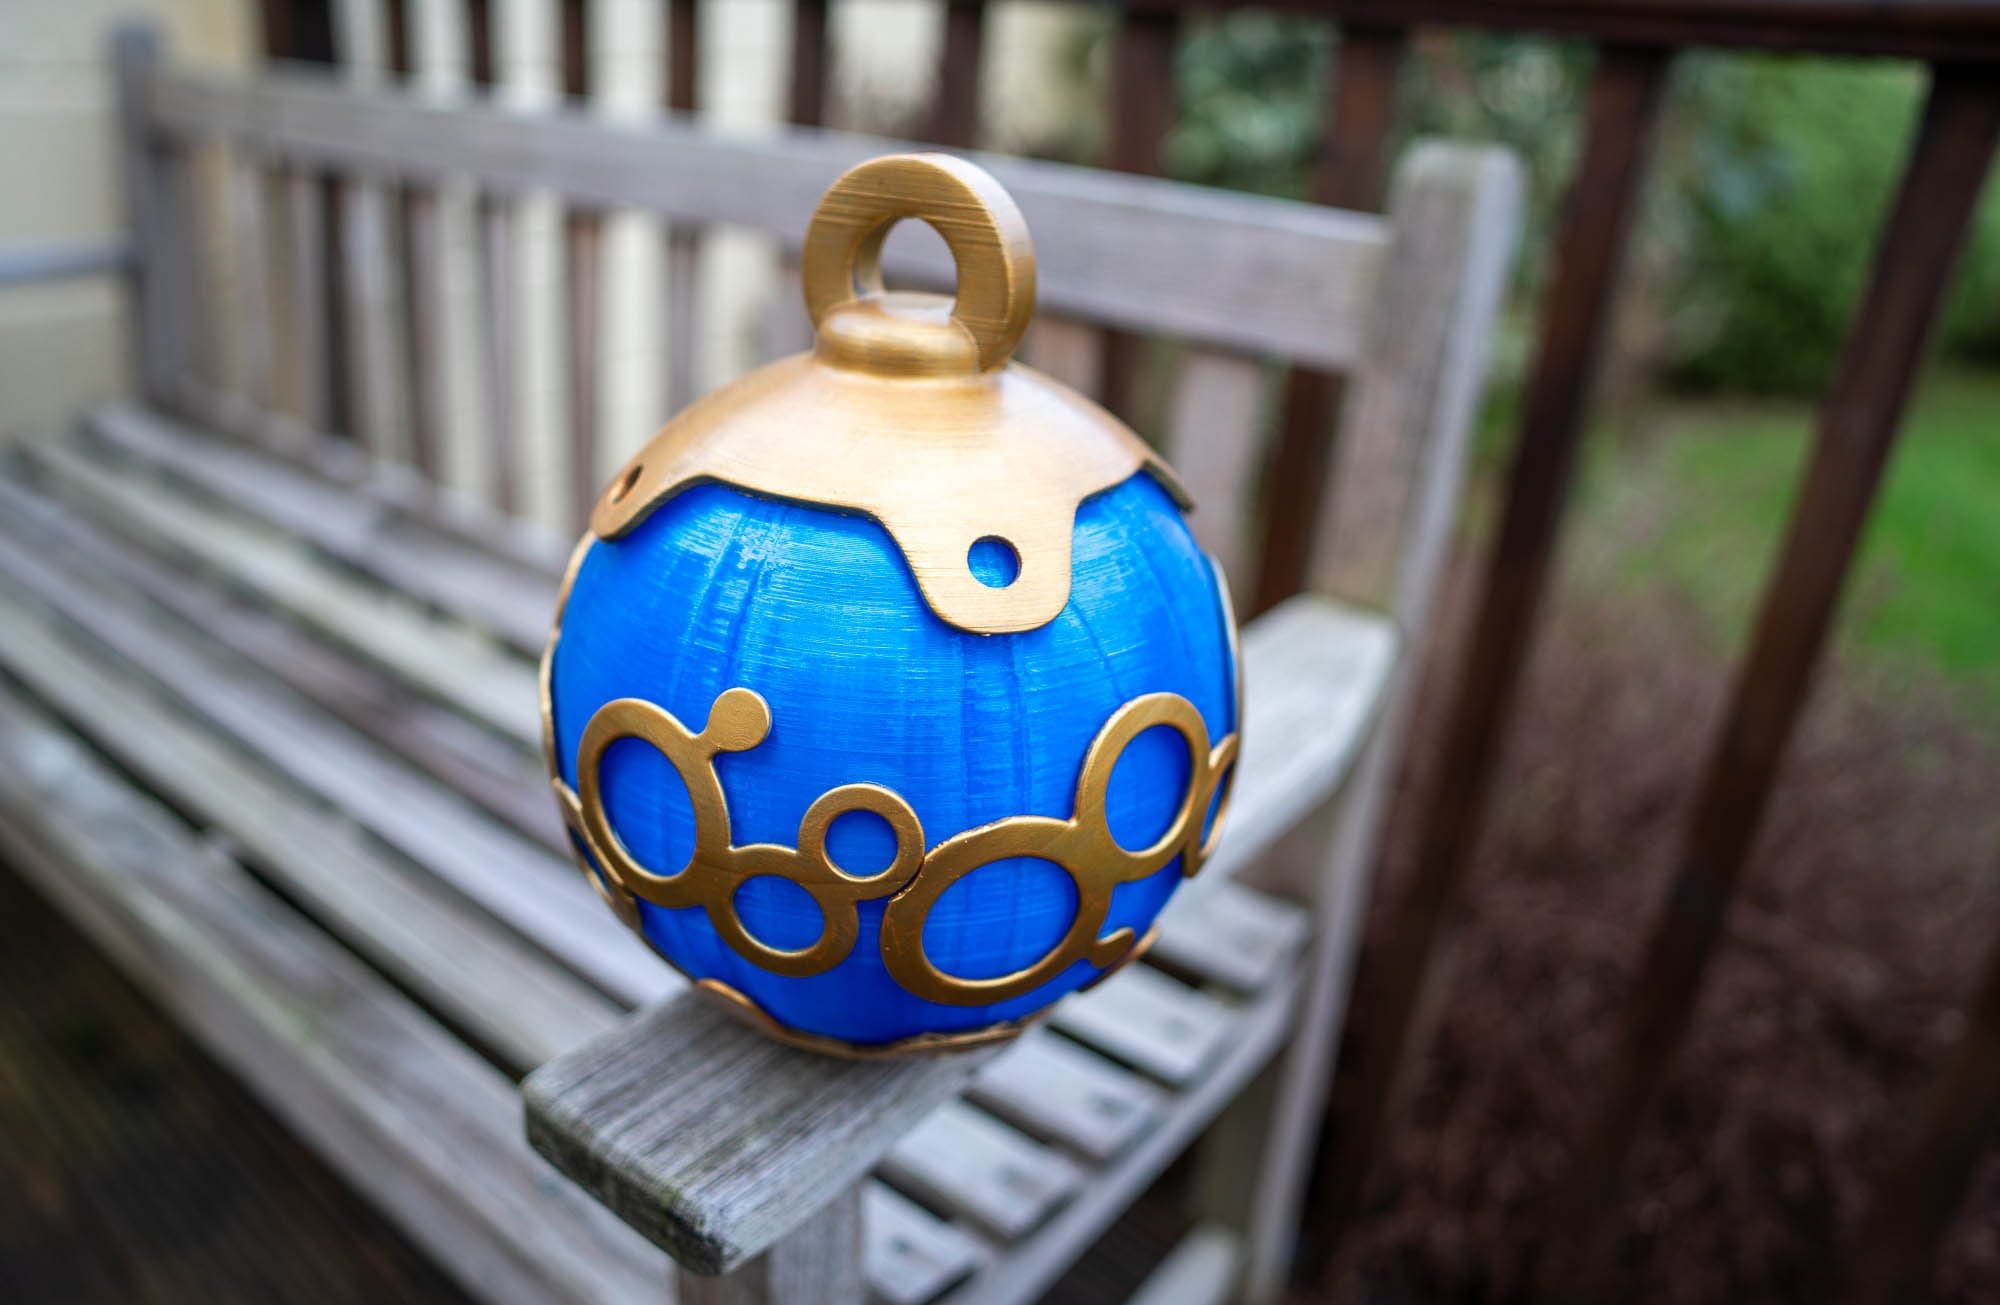
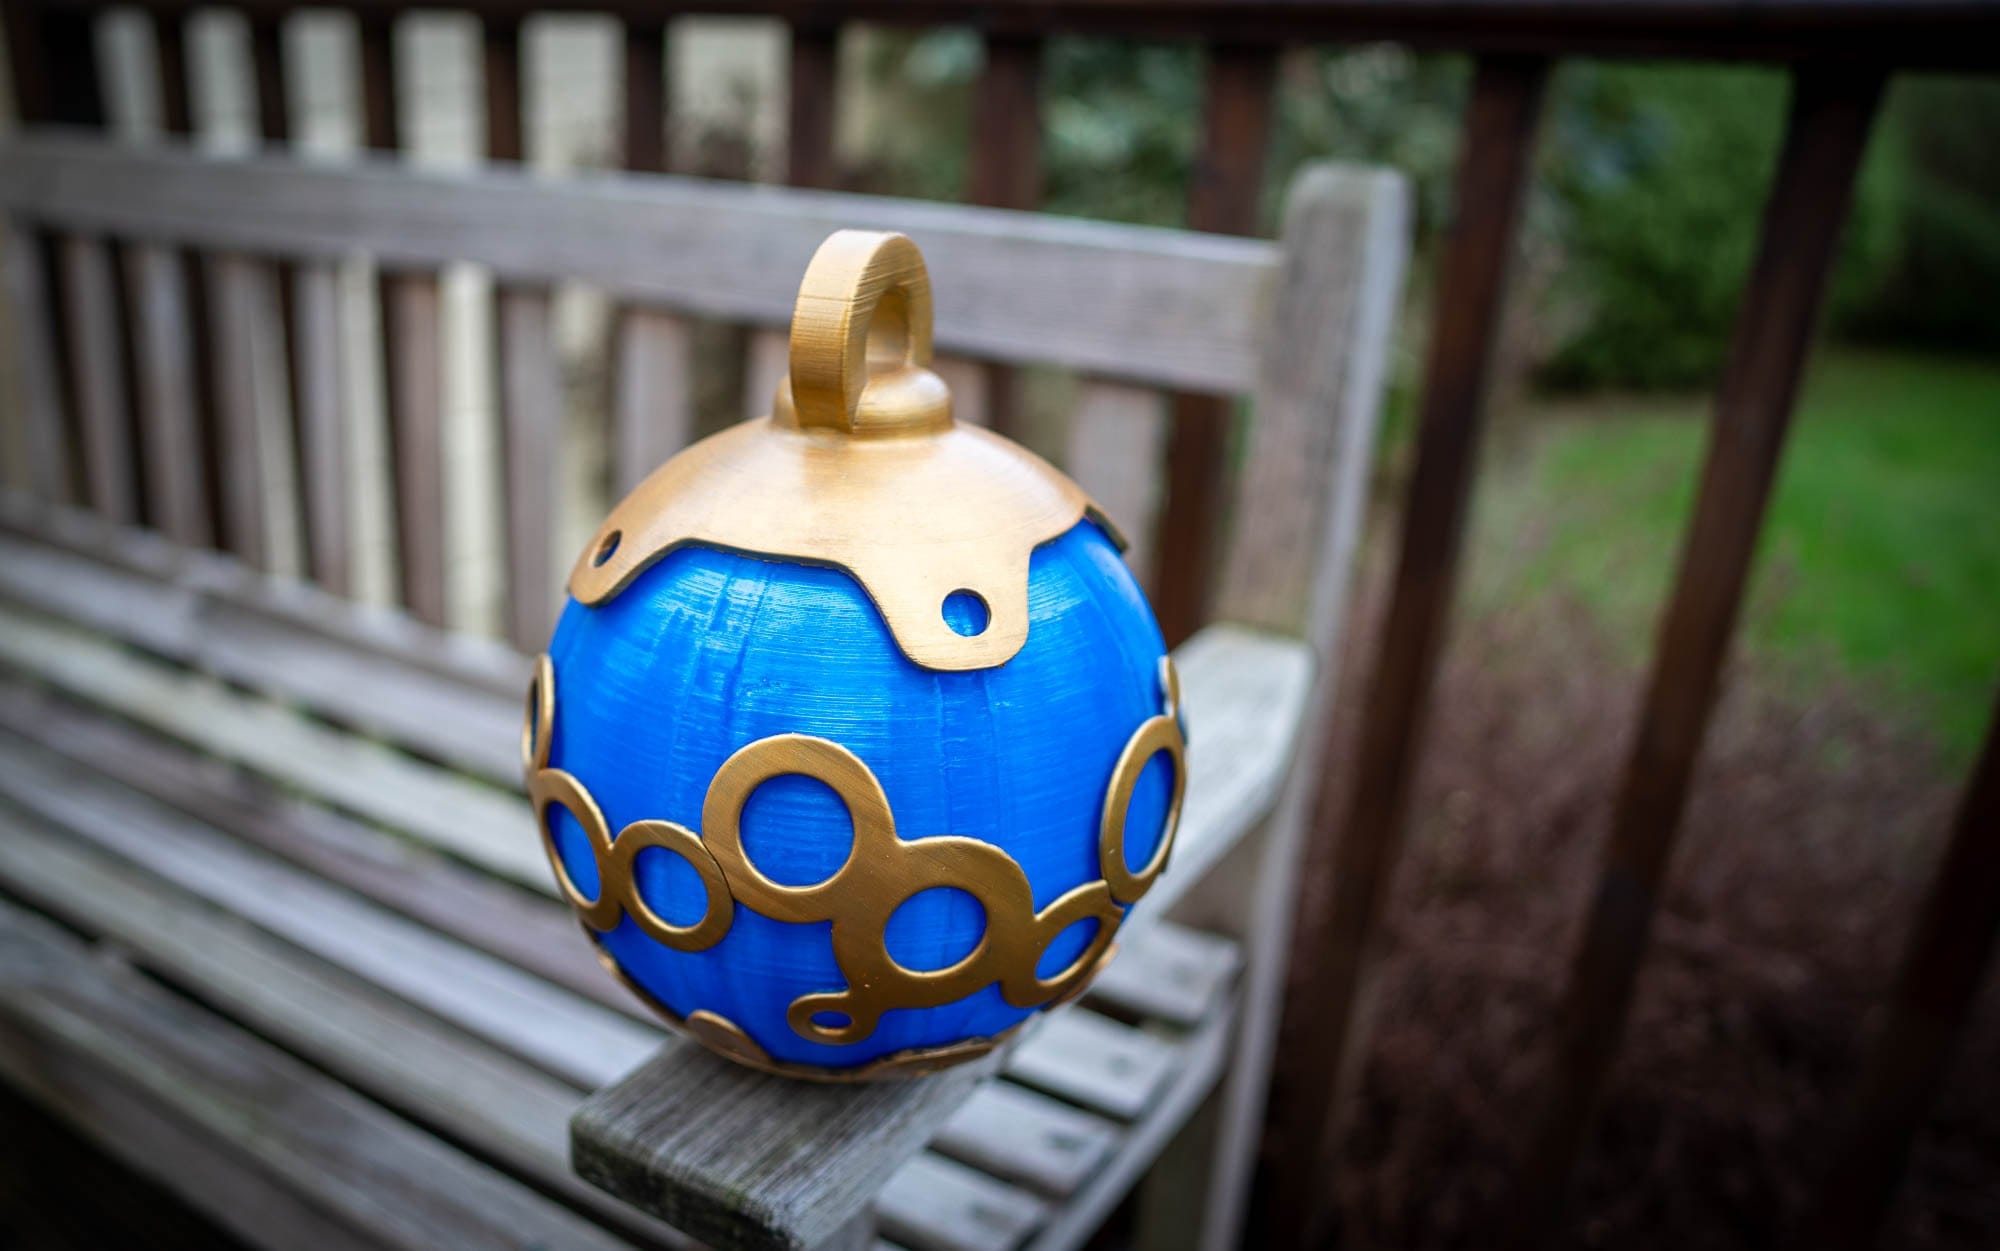
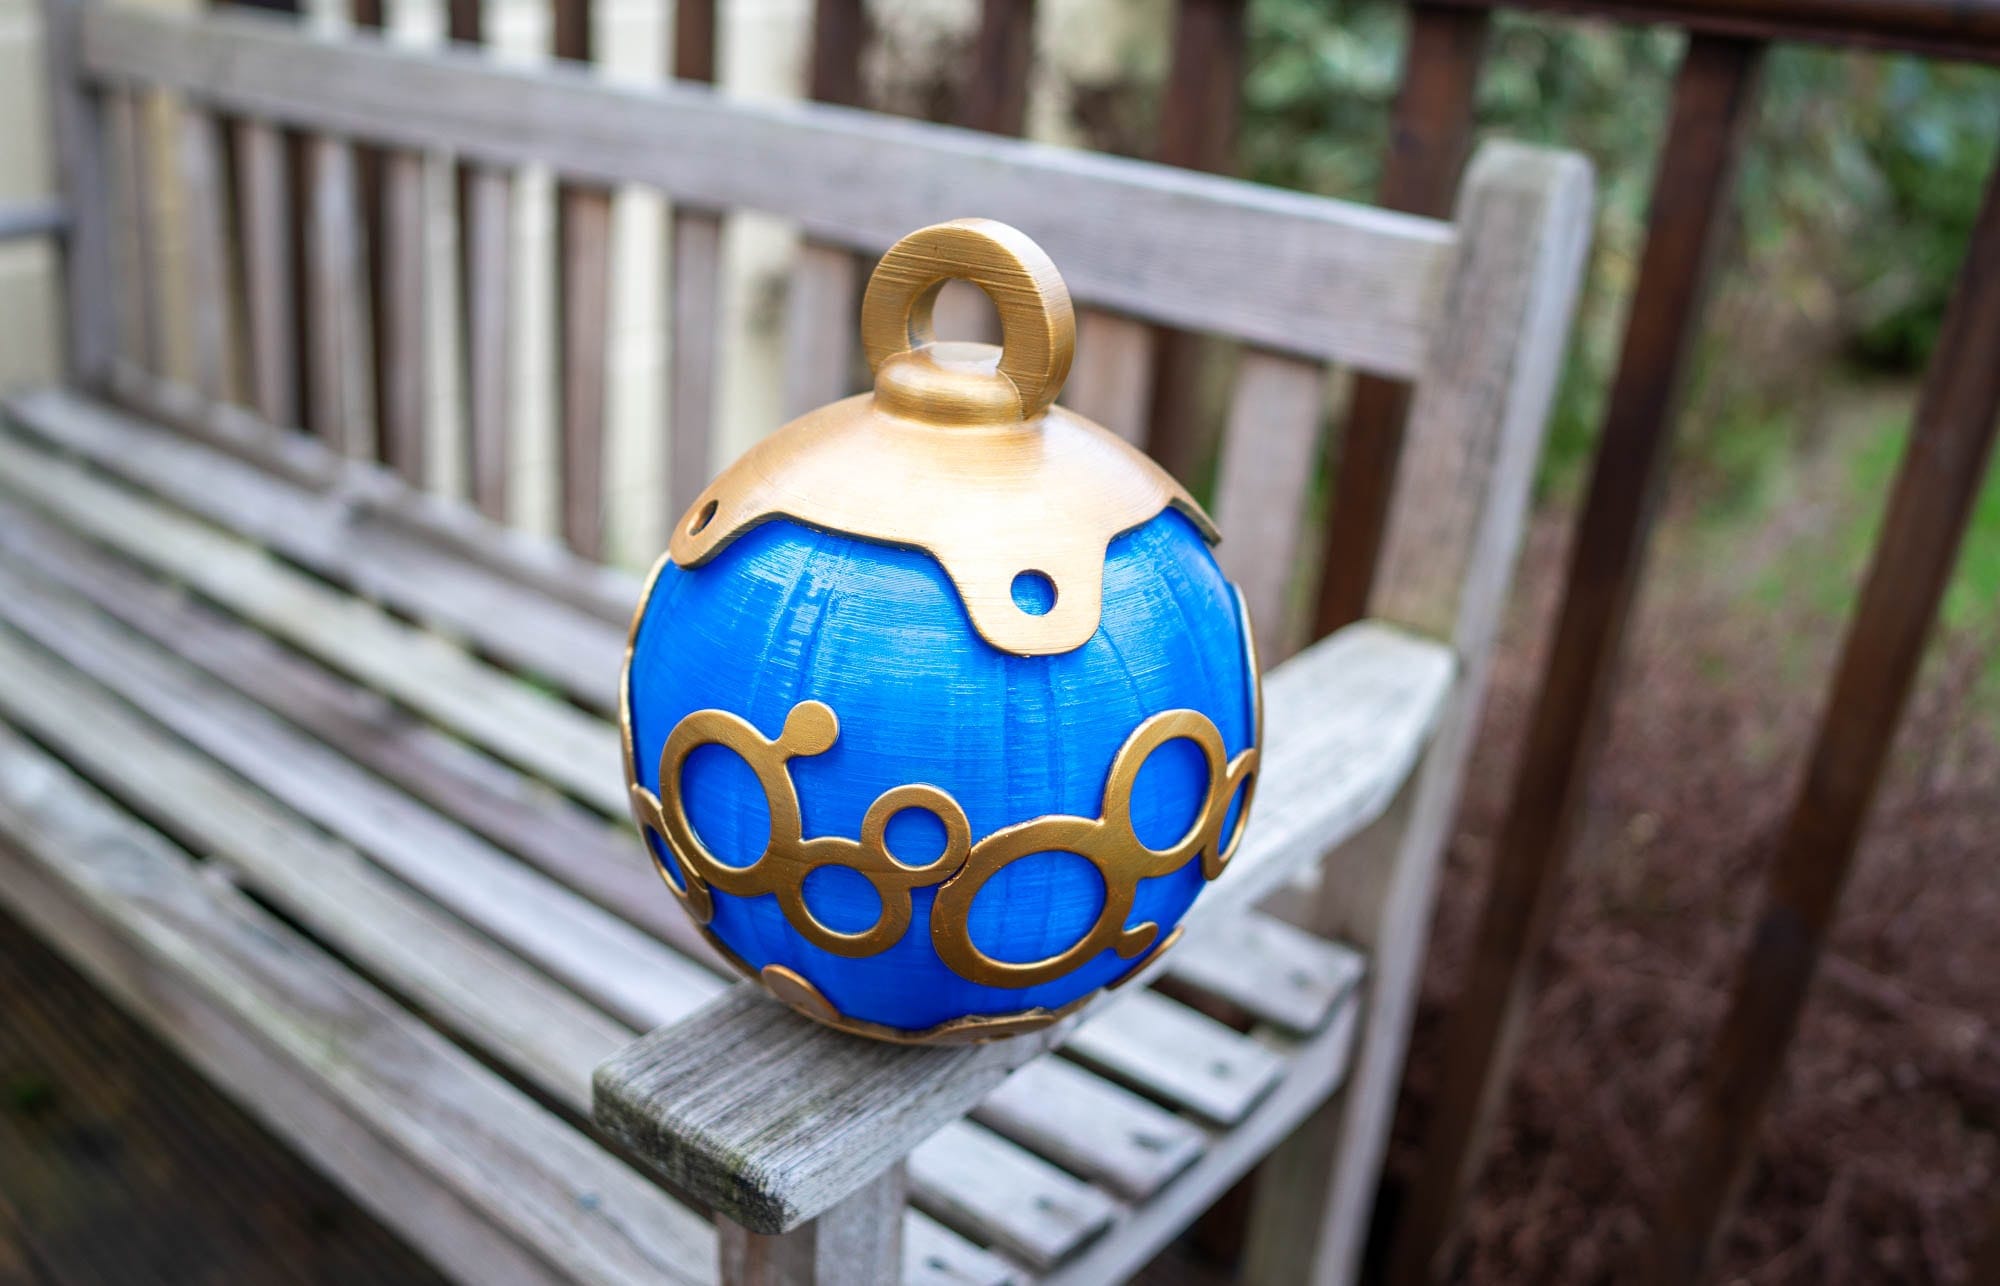
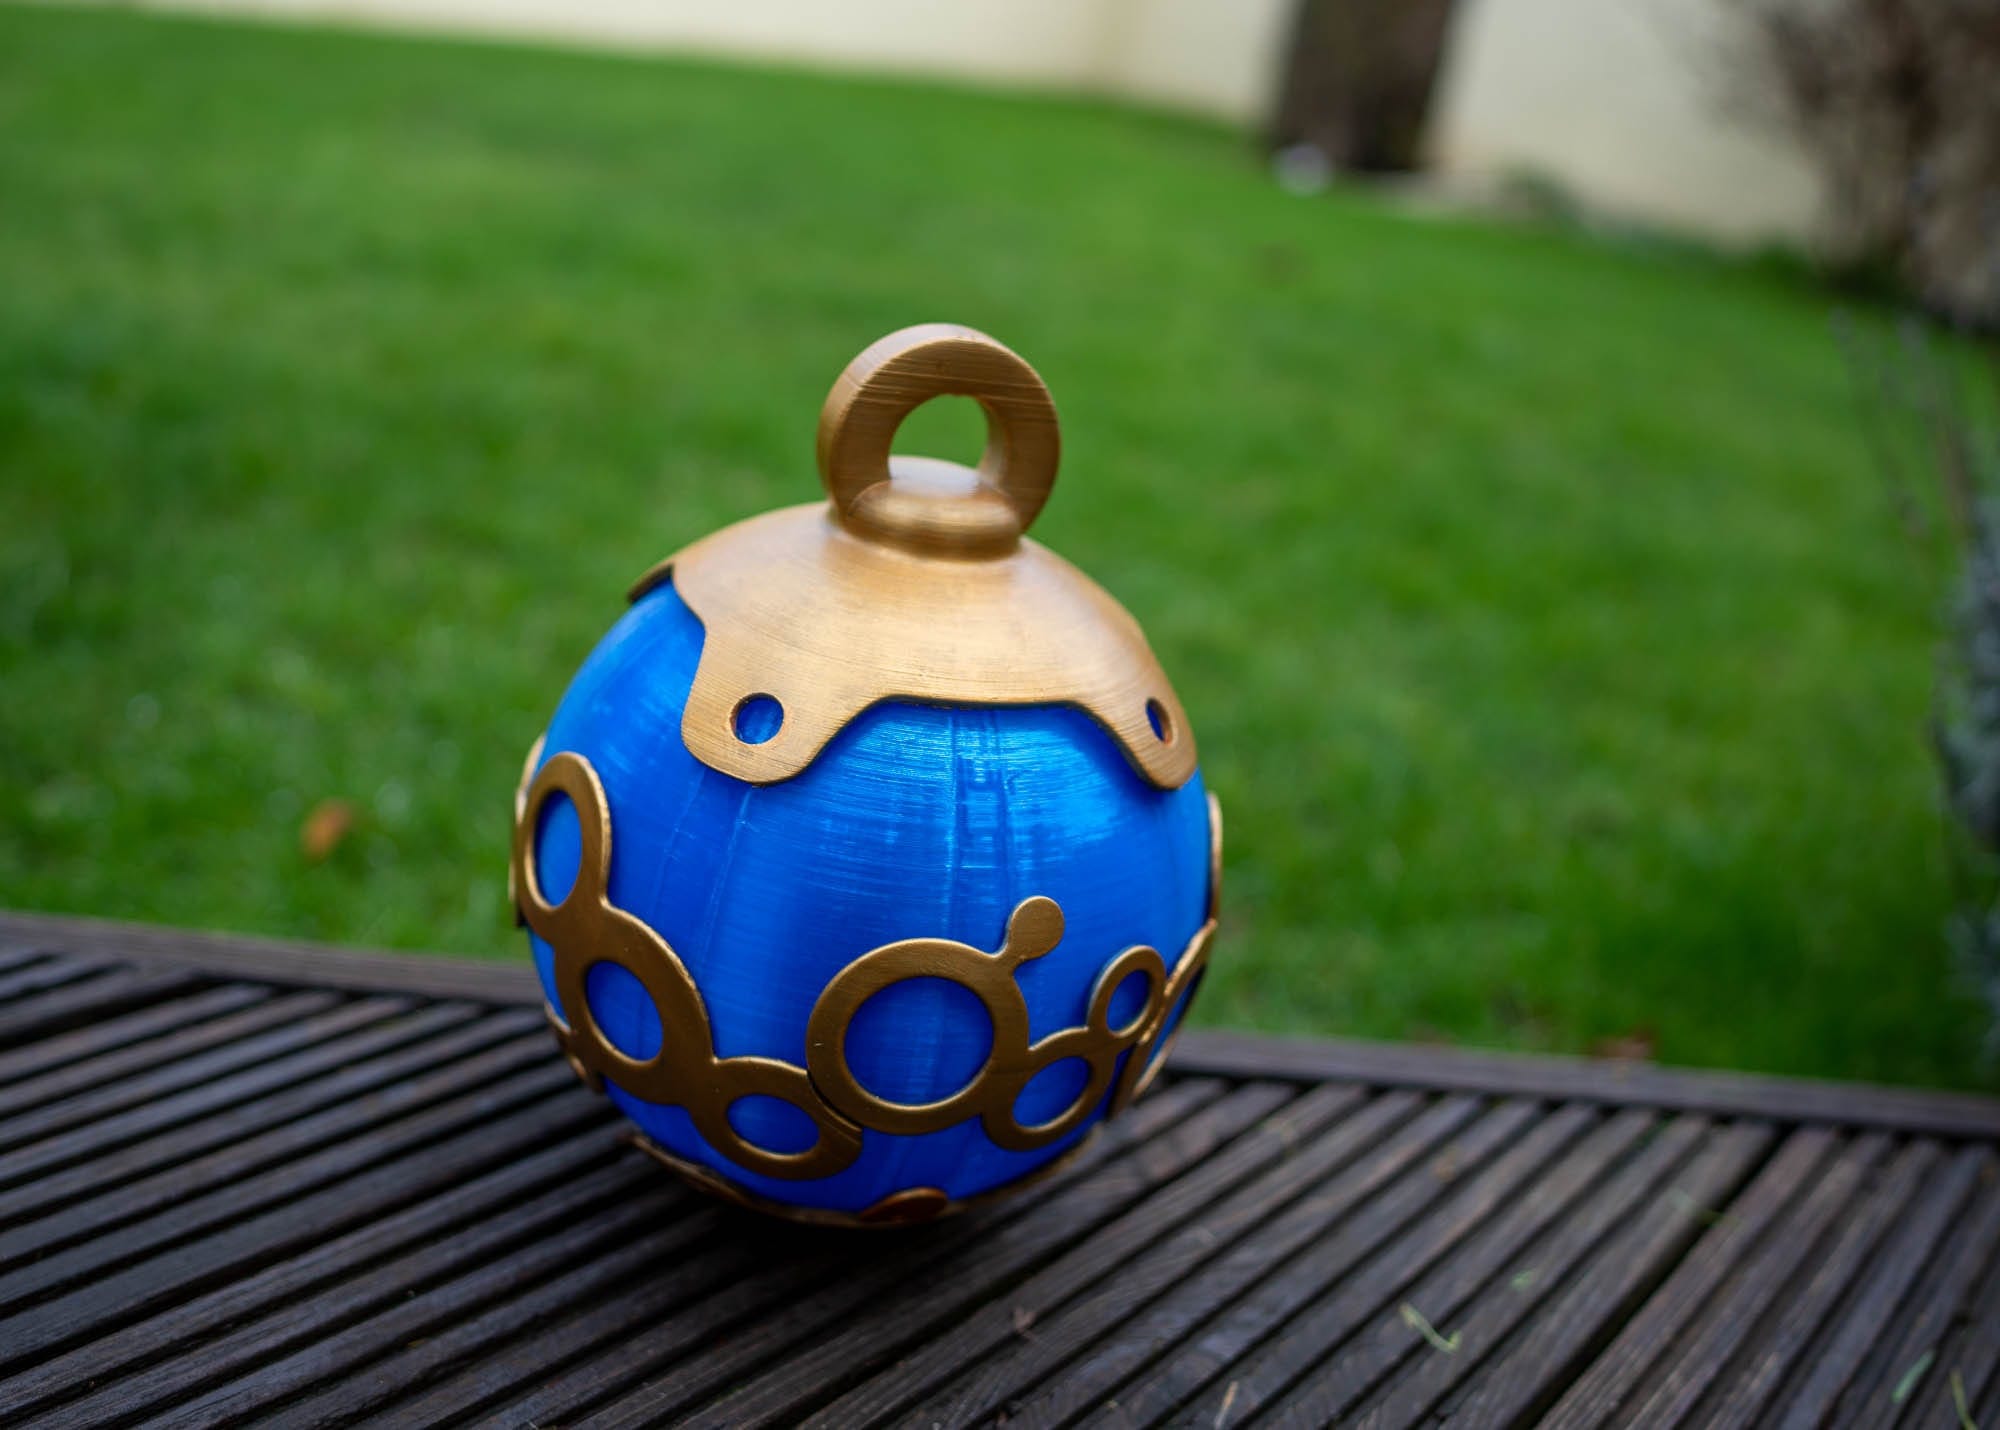
Mk4 Bomb Render
Electronics
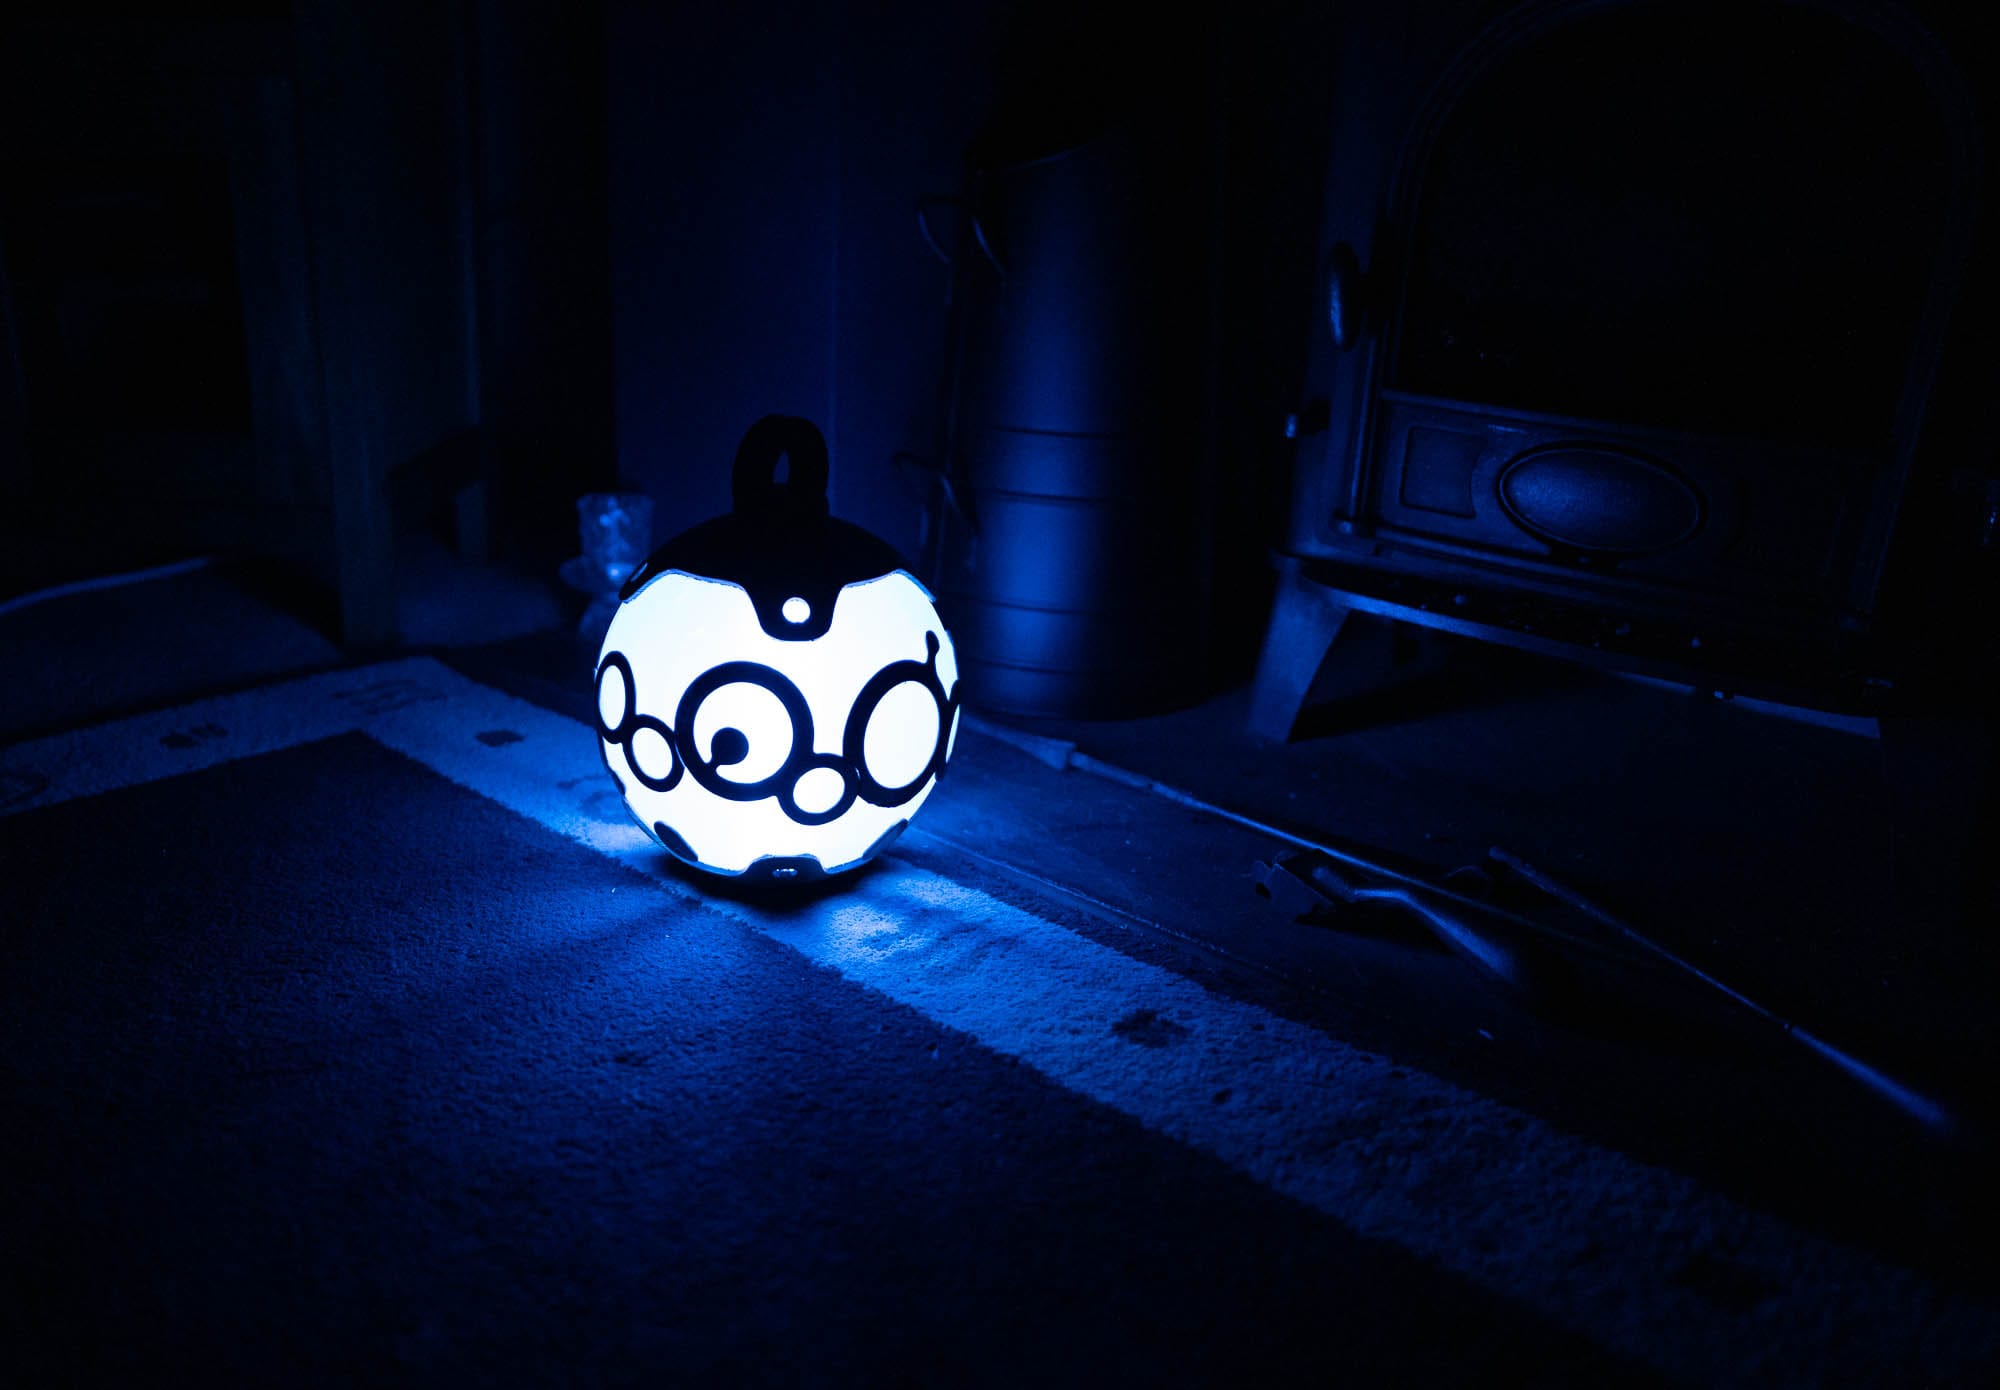
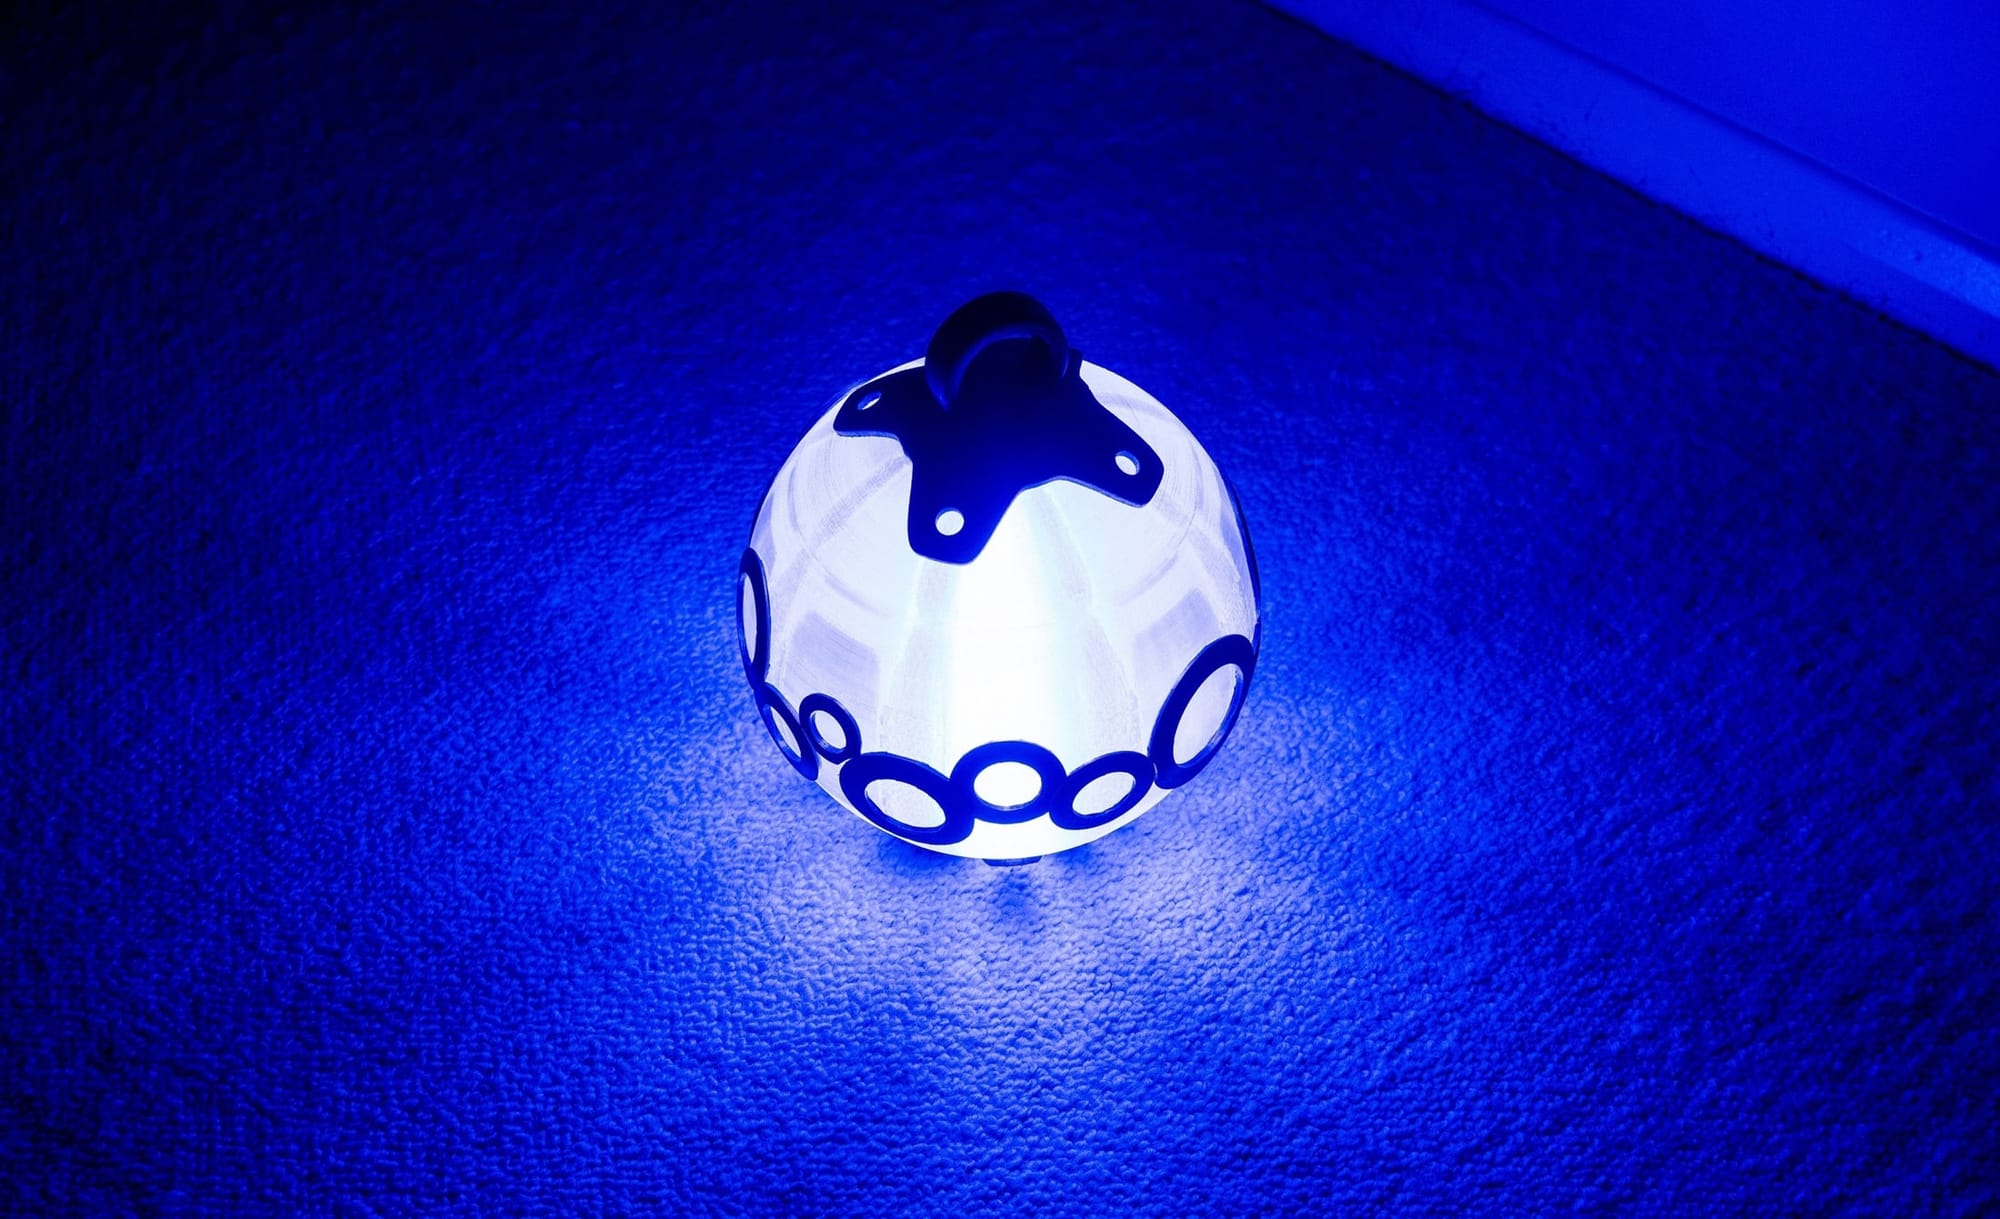
The internal electronics are made using an embedded 18650 lithium-ion rechargeable battery, wired up to a recharge circuit with overcurrent and voltage protection. This is charged via a USB-C port, and powers a ribbon of SMD5050 LEDs winding up through a central diffusor core. All parts soldered with lead-free solder. I'm not a professional electrician, but I haven't had a component fail yet, so I'm pretty pleased with how it all goes together!
Gallery - BotW Bomb Mk4